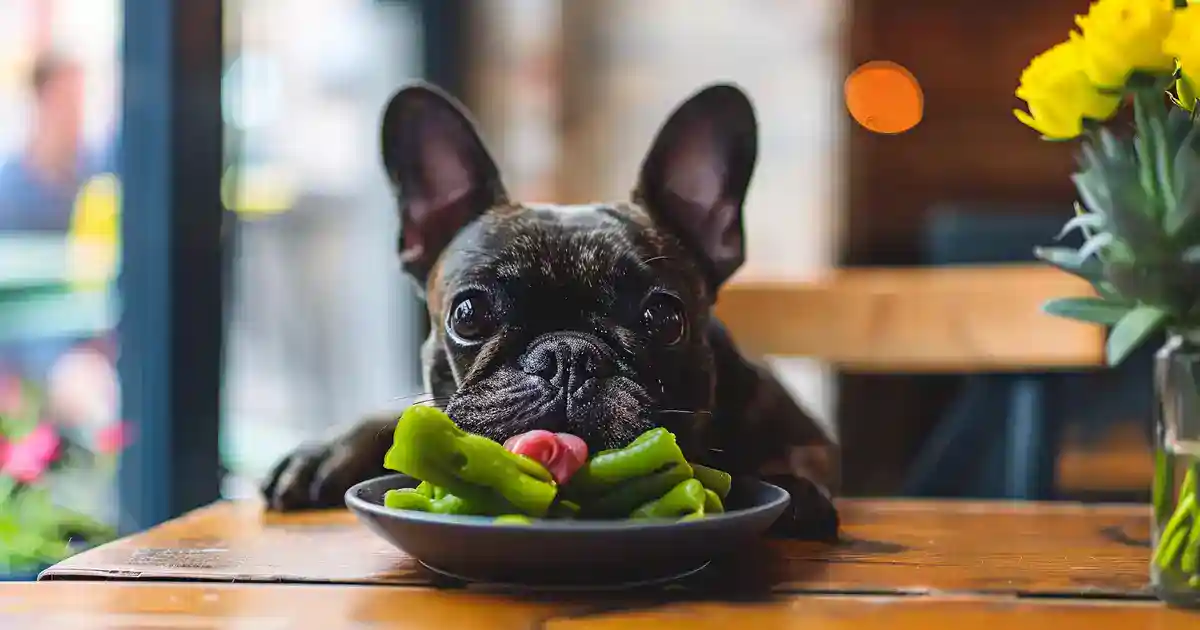
Let Me Tell You Why This Works
Ever wonder why some training treats work magic while others get ignored? I used to struggle with store-bought training treats that either crumbled in my pocket or made my 8-year-old Golden Retriever Amber turn his nose up like I’d offered him cardboard. Then I discovered this simple peanut butter pumpkin combo that literally made Amber forget his “wait” command and start doing victory laps around the kitchen.
Here’s the thing—these homemade peanut butter pumpkin training treats hit that perfect sweet spot between irresistible taste and pocket-friendly durability. Plus, I know exactly what’s going into Amber’s belly (no weird preservatives or ingredients I can’t pronounce). My dog trainer actually asked for the recipe after seeing how motivated Amber became during our sessions.
What Makes This So Tail-Wagging Good
Here’s the magic behind these training treats: the natural sweetness of pumpkin combined with protein-packed peanut butter creates the perfect high-value reward that dogs absolutely go crazy for. What makes this combo irresistible to pups is that both ingredients are naturally appealing while being completely safe for dogs. The texture comes out just right—firm enough for training sessions but soft enough that even senior dogs like Amber can easily chew them. It’s honestly safer than store-bought treats, and way more effective for keeping your dog’s attention during training.
What You’ll Need (And My Dog-Safe Shopping Tips)
Good peanut butter is absolutely crucial for this recipe—I finally found unsalted, xylitol-free natural peanut butter after checking three stores (learned this after my vet scolded me about artificial sweeteners). Look for brands that only list peanuts as the ingredient, nothing else.
Plain canned pumpkin puree works beautifully, but skip the pumpkin pie filling (way too much sugar and spices that aren’t great for dogs). I always grab an extra can because Amber somehow knows when I’m making treats and camps out in the kitchen.
Whole wheat flour provides the perfect binding texture (completely safe for dogs), though you can substitute with oat flour if your pup has wheat sensitivities. Don’t skip the egg—it helps everything stick together and adds extra protein that makes these training treats more satisfying.
For the best dog-safe ingredients, check out Petco’s guide to safe foods for dogs to double-check any substitutions.
Let’s Make This Pup-Perfect Treat Together
Preheat your oven to 350°F and line a baking sheet with parchment paper. Here’s where I used to mess up dog treat making—I’d forget the parchment and spend forever scraping treats off the pan.
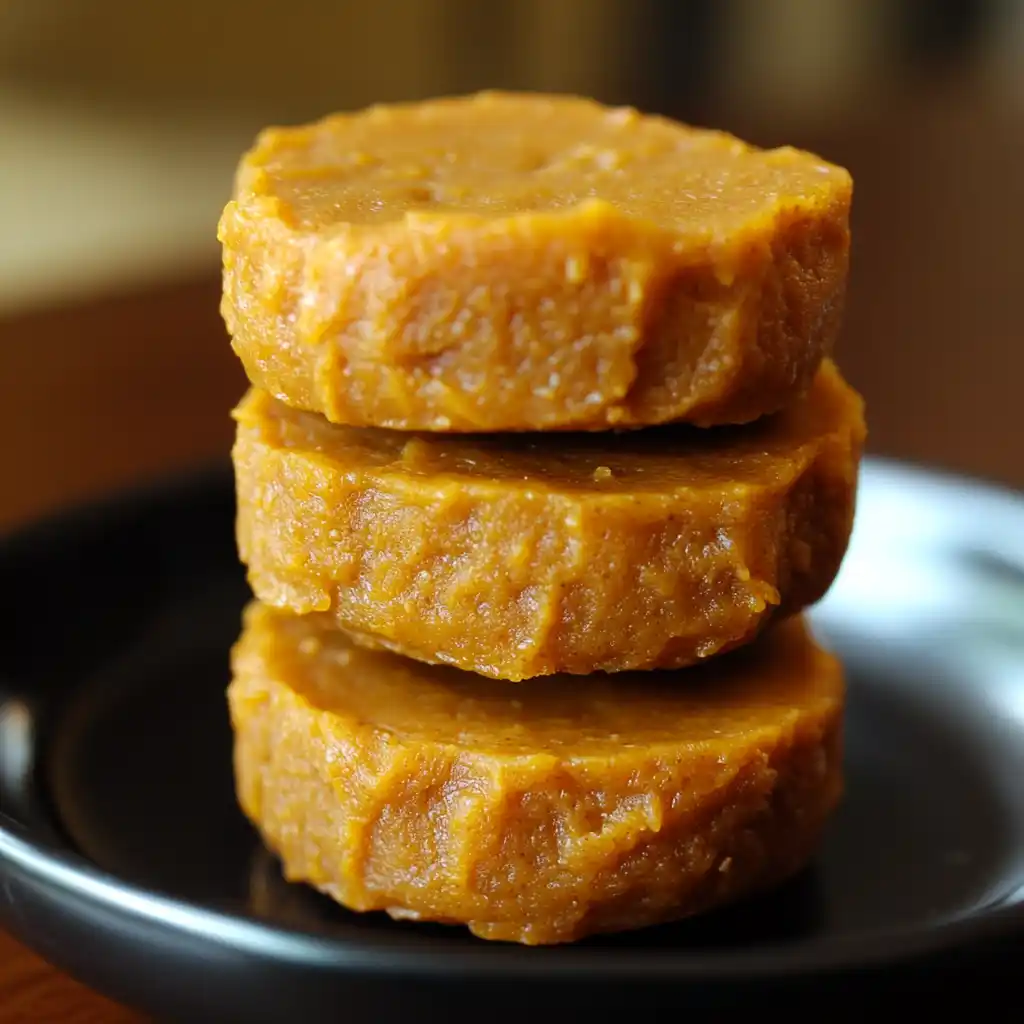
In a bowl, mix your pumpkin puree and peanut butter until well combined. This step takes about two minutes, but it’s when Amber starts drooling because the smell is absolutely incredible. The mixture should look smooth and orange-y perfect.
Now for the fun part (Amber will start doing his happy dance)—gradually add the whole wheat flour and crack in that egg. Stir until a dough forms that’s not too sticky but holds together nicely. Every Golden Retriever has different texture preferences, but Amber loves these slightly chewy, so don’t over-mix.
Here’s my secret for perfect training treats: roll out the dough on a floured surface and cut into small, training-sized pieces. Make them bite-sized—about the size of a cheerio works perfectly for most dogs. My vet taught me this trick: smaller treats mean more rewards during training sessions without overfeeding.
Place your treats on the baking sheet and bake for 25-30 minutes until they’re firm. Dog treats can go from perfect to burnt quickly, so keep an eye on them. They should smell like pure doggy heaven when they’re done.
Make sure they cool completely before giving them to your pup—I learned this the hard way when eager Amber burned his tongue on hot treats. For more homemade dog treat ideas, try these healthy sweet potato dog biscuits that pair perfectly with training sessions.
When Things Go Sideways (And They Will)
Treats came out too crumbly? You probably needed more moisture—that’s common with pumpkin recipes, and it happens to everyone. When this happens (and it will), just add a teaspoon more peanut butter to the dough next time.
Dough seems too sticky? Don’t stress, just add a bit more flour gradually until it’s workable. I’ve learned to add flour slowly because you can’t take it back out. If your dog seems uninterested like Amber did at first (he’s picky about texture), try rolling them thinner for more crunch or thicker for chewier treats.
Too soft after baking? Pop them back in the oven for 5 more minutes. This is totally fixable, and honestly happens more than I’d like to admit with homemade dog treats.
Ways to Mix It Up
When Amber needs extra motivation during difficult training sessions, I’ll add a tiny bit of plain Greek yogurt to the dough for extra richness. Sometimes I add finely chopped parsley for fresher breath (though that’s totally optional and some dogs aren’t fans).
For special occasions, I’ll use silicone molds to make fun shapes instead of cutting squares. My winter comfort version includes a pinch of cinnamon, which is safe for dogs in small amounts and smells amazing while baking.
What Makes This Recipe Special
What sets these peanut butter pumpkin training treats apart from other homemade dog treat recipes is the perfect balance of motivation and nutrition. The pumpkin provides fiber for healthy digestion while the peanut butter delivers the protein and healthy fats that keep dogs engaged during training sessions. This combination creates treats that are more effective than store-bought options because they’re fresher, more aromatic, and free from preservatives that can dull flavor over time.
Questions I Always Get
Can puppies eat these homemade dog treats?
Absolutely! These ingredients are perfectly safe for puppies over 12 weeks old. Just make the treats smaller for little mouths and remember that puppy treats should be even tinier portions.
How long do these dog treats stay fresh?
I usually store these in the refrigerator where they’ll stay fresh for about a week. If you want them to last longer, freeze them in portions and thaw as needed.
What if my dog has food allergies?
If your pup can’t have wheat, substitute oat flour or coconut flour. For peanut allergies, try sunflower seed butter instead (make sure it’s xylitol-free). Always introduce new ingredients gradually.
Can I make these treats ahead of time?
Yes! I make big batches and freeze them in training session portions. They thaw quickly and maintain their appeal, which is perfect for busy dog parents.
How many treats can I give my dog per day?
These should make up no more than 10% of your dog’s daily calories. For Amber’s size, that’s about 8-10 treats per day during intensive training sessions.
Are these treats safe for senior dogs?
Perfect for older dogs like my 8-year-old Amber! The soft texture is easy on aging teeth, and the pumpkin aids digestion, which is great for senior pups.
Before You Head to the Kitchen
I couldn’t resist sharing this because watching Amber enjoy these peanut butter pumpkin training treats—and actually focus during our training sessions—reminded me why homemade treats are worth the extra effort. The best training days are when you have treats that motivate your dog without worrying about mystery ingredients or breaking the bank.
Print
Peanut Butter Pumpkin Training Treats
Description
Irresistibly motivating training treats that will have your dog eager to learn—made with simple, dog-safe ingredients that actually work better than expensive store-bought options.
Prep Time: 10 minutes | Cook Time: 25-30 minutes | Total Time: 40 minutes | Makes: About 60 small training treats
Ingredients
- 1 cup canned pumpkin puree (plain, not pie filling – completely safe for dogs)
- 1/2 cup natural peanut butter (xylitol-free only)
- 2 cups whole wheat flour (or substitute oat flour for sensitive tummies)
- 1 large egg
Instructions
- Preheat your oven to 350°F and line a baking sheet with parchment paper (trust me, don’t skip this step).
- Mix pumpkin puree and peanut butter in a bowl until smooth—this is when your dog will start begging from the smell alone.
- Gradually add flour and egg, stirring until a workable dough forms (should hold together but not be too sticky).
- Roll out dough on a floured surface and cut into small, training-sized pieces about the size of a cheerio.
- Place treats on your prepared baking sheet, leaving space between each one.
- Bake for 25-30 minutes until firm and slightly golden (they’ll smell incredible).
- Let cool completely before rewarding your pup—hot treats can burn their mouth.
Notes:
- Always let cool completely before serving (learned this from experience with eager Amber)
- Make treats small for better portion control during training sessions
- If dough is too sticky, add flour gradually; if too dry, add a bit more peanut butter
Storage Tips:
- Store in refrigerator for up to one week for freshness
- Freeze in training session portions for longer storage
- Don’t leave these out—they’ll spoil without preservatives
- Toss if you see any mold (better safe than sorry with homemade treats)
What Makes This Recipe Special:
These peanut butter pumpkin training treats combine the irresistible appeal of peanut butter with the digestive benefits of pumpkin, creating high-value rewards that dogs actually get excited about. The homemade approach means better freshness, stronger aroma for motivation, and complete control over ingredients—no preservatives, artificial colors, or mystery additives that can dull effectiveness.
Mix It Up (Dog-Safe Variations):
- Breath-Freshening Version: Add 1 tablespoon finely chopped fresh parsley for natural breath freshening
- Extra Protein Boost: Mix in 1 tablespoon plain Greek yogurt for additional richness and protein
- Senior Dog Special: Use oat flour instead of wheat flour for easier digestion, perfect for older pups like Amber